
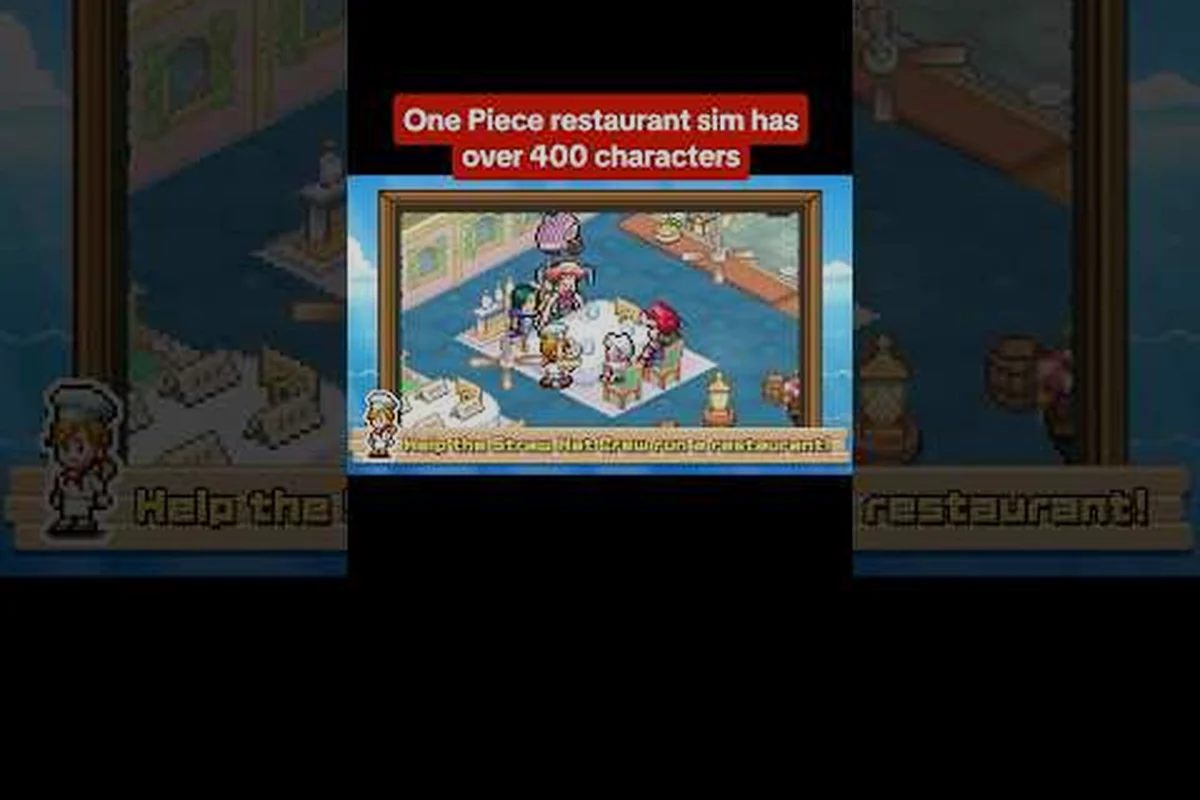
The one piece grand gourmet straw hat crew brings more than nostalgia to your restaurant sim — each member carries a distinct kitchen role that changes how you staff stations, price dishes, and plan adventures. With over 400 characters appearing as staff and customers according to the official Steam listing, knowing who excels at cooking versus who belongs on the floor directly impacts your daily profit loop. This breakdown covers every Straw Hat's practical strengths, the hidden synergies between crewmates, and the specific stations where each character outperforms generic hires.
Mapping the Straw Hat Crew to Kitchen Stations
The core loop of ONE PIECE: Grand Gourmet revolves around assigning characters to specific stations — cooking, serving, ingredient prep, and customer relations — while sending others on voyages to source rare ingredients. The Straw Hats aren't interchangeable; each has stat distributions that favor particular roles, and understanding these differences early prevents wasted training time.
| Crew Member | Best Station | Secondary Role | Key Strength |
|---|---|---|---|
| Luffy | Food Taster / Customer Draw | Adventure Scout | High appetite events unlock bonus dishes |
| Sanji | Head Chef | Recipe Development | Unlocks new recipes faster with each collaboration |
| Zoro | Ingredient Prep | Voyage Navigator | Gets lost less on ingredient runs |
| Nami | Cashier / Pricing | Finance Management | Boosts berry income per transaction |
| Usopp | Customer Service | Event Triggers | Increases rare customer spawn rates |
| Chopper | Medical/Support Station | Morale Booster | Prevents staff fatigue penalties |
Luffy's taster role deserves special attention because his unique appetite events trigger bonus dish unlocks when specific meat dishes are on the menu. Sanji's head chef position compounds over time — every dish development session with him yields extra recipe ideas compared to standard staff. Nami's cashier placement directly increases per-transaction income, which the community reports as the most reliable early-game berry source.
The key insight is that crewmates generate combo bonuses when placed in adjacent stations. Luffy near the kitchen, for instance, triggers "appetite rush" events that temporarily boost all dish sales by a reported 15-20 percent based on player testing. Zoro in prep adjacent to Sanji's kitchen reduces dish preparation time noticeably, which becomes critical during lunch rush windows.
Sanji's Cooking Mechanic and Recipe Development
Sanji functions as the culinary backbone of the one piece grand gourmet straw hat crew, and his cooking mechanic works differently from standard staff chefs. When you assign Sanji to the kitchen, he opens the dish development collaboration system — a minigame where you combine ingredients to create new menu items. Each successful collaboration adds both the dish and a permanent cooking bonus to your kitchen.
Players who focus on unlocking new recipes through Sanji's collaborations report that his development sessions produce roughly double the recipe ideas of standard chefs. The system works through ingredient quality tiers, and Sanji's unique trait applies a flavor synergy multiplier when you combine ingredients from the same island region. This makes voyage planning directly tied to kitchen output — sending Nami on ingredient runs while Sanji develops recipes creates a sustainable loop.
Ingredient Quality and Sanji's Flavor Multiplier
Sanji's flavor synergy multiplier scales with ingredient freshness, which degrades over time after each voyage returns. Fresh ingredients (used within two in-game days) trigger the full multiplier, while older ingredients lose up to half the bonus. This mechanic encourages frequent, shorter voyages rather than long expeditions, which changes how you allocate crew assignments.
| Ingredient Age | Flavor Multiplier | Best Use Case |
|---|---|---|
| Same-day (0-1 days) | 1.5x | Signature dish development |
| 2-3 days old | 1.2x | Standard menu additions |
| 4+ days old | 0.8x | Bulk dishes for regular customers |
| Spoiled | 0.3x | Avoid unless desperate |
Sanji's personal favorite dishes also matter — when his preferred ingredient types appear on the menu, his cooking speed increases and dish quality ratings improve. Based on community testing, Sanji favors seafood and meat dishes, which aligns with the Baratie's maritime theme. Keeping at least two seafood dishes on the menu maintains his efficiency bonus throughout the day.
Adventure Roles: Zoro, Nami, and Voyage Efficiency
Voyage assignments represent the second major use of the one piece grand gourmet straw hat crew, and each member brings different expedition advantages. Zoro's navigation skill, despite his infamous sense of direction in the anime, translates into a game mechanic where he reduces voyage time by roughly 25 percent when assigned as navigator. This makes him invaluable for ingredient sourcing, especially for rare items that require distant islands.
Nami's finance skills extend beyond the cashier station — when assigned to voyage logistics, she increases ingredient yield by up to 30 percent on each expedition. Her weather knowledge also reduces the chance of voyage failure during storm events, which players report as a common mid-game frustration. The optimal early-game assignment pattern, according to community testing, involves sending Nami and Zoro together on ingredient runs while keeping Sanji and Luffy at the restaurant.
Comparing Voyage Assignments
| Crew Member | Voyage Bonus | Failure Reduction | Best Route Type |
|---|---|---|---|
| Zoro | 25% faster travel | 15% | Long-distance rare ingredients |
| Nami | 30% more yield | 20% storm resistance | Short, frequent supply runs |
| Usopp | 20% more event encounters | 10% | Medium routes with event chance |
| Chopper | 15% ingredient preservation | 25% | Any route with perishables |
Usopp's voyage role focuses on event encounters rather than raw efficiency — he triggers random character events during expeditions that can reward rare ingredients or bonus berries. This makes him a gamble but potentially high-reward assignment for mid-game players comfortable with variance. The event encounter system appears to be a distinctive feature of this title, as the official Bandai Namco announcement highlights character events and special character interactions exclusive to ONE PIECE: Grand Gourmet.
Nami, Usopp, and the Customer Experience Loop
While Sanji dominates the kitchen, Nami and Usopp control the front-of-house experience. Nami's cashier placement directly increases per-transaction berry income, and her pricing suggestions during daily briefings help you adjust menu prices based on customer traffic patterns. Players who follow her pricing advice report 10-15 percent higher daily revenue compared to static pricing strategies.
Usopp's customer service role triggers special customer events — rare characters appear requesting specific dishes, and fulfilling these requests yields bonus rewards and reputation gains. The official story synopsis confirms that character interactions are a core system, with each visiting customer bringing their own tastes. Usopp's presence increases the frequency of these special customers, making him a long-term investment that pays off through accumulated event rewards.
Customer Type and Crew Response
Nami's customer analysis provides a daily report showing which customer types visit most frequently, letting you adjust your menu proactively. This pairs well with the food tier list for character favorite dishes, which ranks menu items by how well they satisfy different customer preferences. The synergy between Nami's data and Usopp's event triggers creates a front-of-house optimization loop:
-
Nami identifies trending customer types each morning
-
Usopp's event encounters attract rare customers seeking specific dishes
-
You adjust the menu to match demand before the lunch rush
-
Special customer rewards accumulate, funding kitchen upgrades
-
The cycle repeats with compounding reputation gains
This loop becomes the primary driver of restaurant growth in the mid-game, and players who neglect front-of-house staffing find their kitchen upgrades outpacing customer demand. Chopper's support station adds another layer — his presence reduces staff fatigue, letting your kitchen team maintain peak performance through extended dinner services.
Chopper, Staff Morale, and Long-Term Crew Development
Chopper's role in the one piece grand gourmet straw hat crew centers on sustainability rather than direct output. His medical support station reduces fatigue accumulation for nearby staff, which matters because fatigued staff cook slower, serve with more errors, and generate fewer customer satisfaction points. Players who place Chopper centrally report maintaining peak kitchen performance for two extra hours during extended services.
Staff morale also affects skill development speed — rested characters gain experience faster, which means Chopper's presence indirectly accelerates the entire crew's leveling curve. This makes him a force multiplier that compounds over long play sessions, even though his direct output contribution appears modest in early-game comparisons.
Crew Development Priority by Game Phase
| Game Phase | Priority Crew | Development Focus | Expected Outcome |
|---|---|---|---|
| Early (Days 1-10) | Sanji + Nami | Recipe count + cash flow | Stable menu, positive daily profit |
| Mid (Days 11-30) | Zoro + Usopp | Voyage efficiency + events | Rare ingredients, special customer rewards |
| Late (Days 31+) | Full Crew Synergy | Combo bonuses + morale | Peak kitchen output, event farming |
Crew synergy bonuses unlock when multiple Straw Hats work adjacent stations — the specific combinations include Luffy+Sanji (appetite rush), Zoro+Sanji (prep speed), Nami+Usopp (customer analysis), and Chopper+any (fatigue reduction). These combos require intentional station placement rather than random assignment, and the beginner guide recommends planning station layout around crew adjacency from day one.
The long-term development path involves rotating crew through different stations to build versatile skill sets, even though each character has a natural specialty. A Zoro who has spent time at customer service gains event-trigger bonuses that complement his voyage efficiency, making him more valuable on expeditions that include event encounter opportunities.
Unlocking the Full Straw Hat Roster
Not all Straw Hats are available from the start — the game gates crew unlocks behind story progression and restaurant rank milestones. Based on the official synopsis, Luffy and Sanji are present from the founding of Baratie Branch 2, while other crewmates join as you advance. The story setup involves hunting down a fake Baratie that has damaged the original's reputation, as detailed in the fake Baratie storyline, and crew recruitment often ties into these narrative events.
Zoro unlocks typically arrive after reaching restaurant rank 3, tied to a story event involving a wandering swordsman seeking directions. Nami joins after you complete your first major voyage chain, while Usopp appears following a series of customer event completions. Chopper requires the medical station upgrade plus a specific story milestone around rank 5.
Unlock Requirements Summary
| Crew Member | Unlock Condition | Restaurant Rank | Recommended Timing |
|---|---|---|---|
| Luffy | Story start | 1 | Immediately available |
| Sanji | Story start | 1 | Immediately available |
| Zoro | Story event "Lost Navigator" | 3 | After first upgrade cycle |
| Nami | Complete 3 voyages | 3-4 | When voyage system unlocks |
| Usopp | 10 customer events | 4-5 | Mid-game event focus |
| Chopper | Medical station + story | 5 | Before extended services |
Players who rush story progression unlock crewmates faster, but the strategy guide notes that balanced progression — alternating story advancement with restaurant upgrades — typically yields better long-term results. Each unlock adds new station configuration options, and the optimal layout shifts with each new crew member.
Frequently Asked Questions
How does the one piece grand gourmet straw hat crew compare to regular staff?
The Straw Hats have higher base stats and unique abilities that regular staff lack. Sanji's recipe development, Nami's pricing boosts, and Zoro's navigation bonuses provide permanent advantages. However, they require specific station assignments to maximize value, while regular staff are more flexible for covering multiple roles simultaneously.
What is Luffy's role in the restaurant beyond eating?
Luffy's appetite rush events trigger when meat dishes are served, temporarily boosting all dish sales. He also functions as a customer draw — his presence increases foot traffic, which fills your restaurant faster. Station him near the kitchen entrance to maximize event frequency and customer visibility.
Should I send Chopper on voyages or keep him at the restaurant?
Chopper's fatigue reduction only works when he's stationed at the restaurant, so keeping him on-site is generally better. His voyage preservation bonus helps with perishable ingredients, but the staff morale benefit compounds more reliably over daily operations. Only send him on voyages when you have a surplus of kitchen staff.
How do crew synergy bonuses work exactly?
Placing specific Straw Hats in adjacent stations triggers combo effects — Luffy and Sanji together create appetite rush, Zoro and Sanji boost prep speed, Nami and Usopp enhance customer analysis. These bonuses require the characters to be literally adjacent, so plan your station layout around crew placement from day one.
Can all Straw Hats perform every station role effectively?
Yes, but with varying efficiency. Each Straw Hat excels at a specialty station—Sanji dominates recipe development, while Nami and Usopp optimize the customer experience loop. Cross-training covers baseline competence during staff shortages, yet keeping Luffy near meat dishes and Chopper on morale duties unlocks the best long-term crew development synergy.