
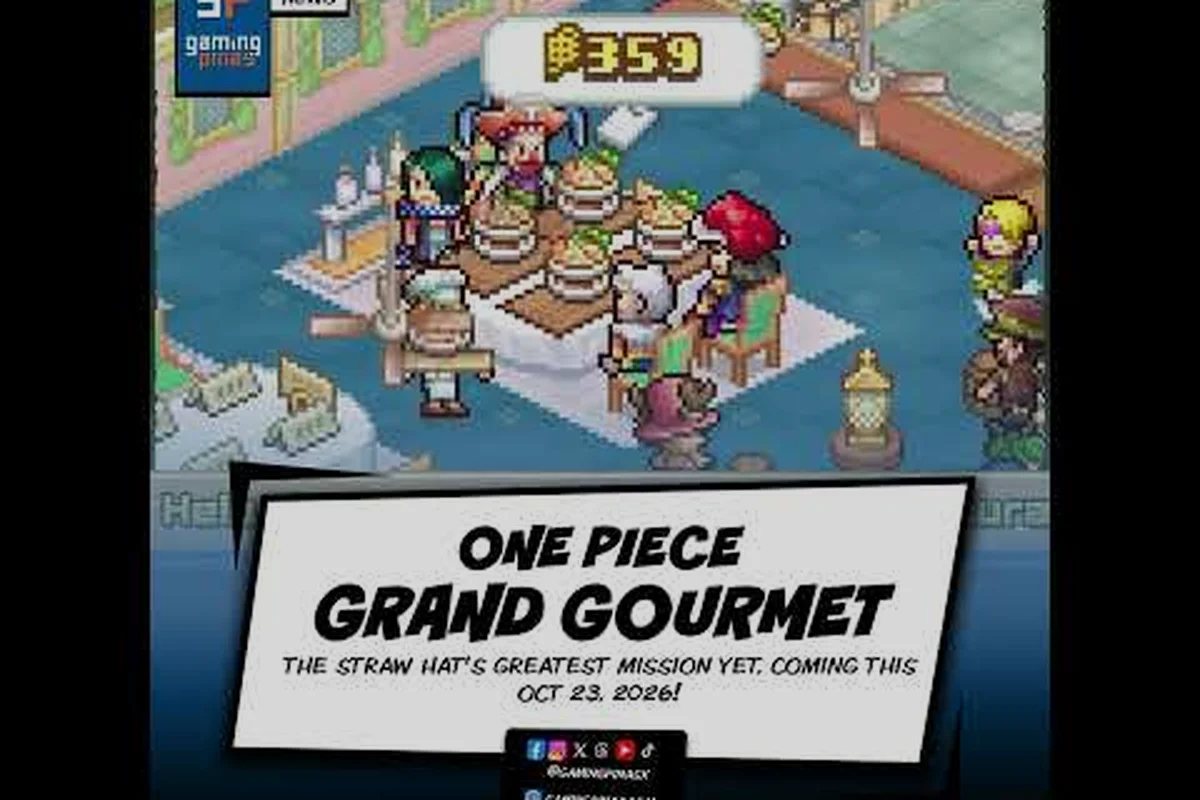
Setting the right price for each dish is the single biggest lever you control in ONE PIECE: Grand Gourmet, yet most players either undercharge out of fear or overprice straight into empty tables. This pricing guide breaks down how the game's economy actually rewards patience, why your ticket-size ceiling matters more than any single dish price, and how to raise prices without chasing away the 400+ character roster that fuels your reputation. Get the pricing math right and you can out-earn players who simply spam the most expensive recipe they own.
Why Pricing Strategy Beats Cooking More Dishes
The core loop sounds simple: cook with Sanji, arrange meal sets, serve guests, collect Berries. But the profit math shifts dramatically depending on how you price each plate. According to the official ONE PIECE: Grand Gourmet website, "as you expand your restaurant, you gain more loyal customers and become the talk of the culinary seas" — which means your pricing decisions directly feed your reputation rank, not just your wallet.
Most new players treat pricing as a fixed number they set once and forget, which leaves serious Berries on the table—especially when a single 3-star recipe can swing between 400 and 1,200 Berries depending on your stall's location and the current customer mood cycle. The real strategy involves understanding three interlocking systems: the daily demand fluctuation tied to each island's customer base, the freshness decay multiplier that silently erodes your listed price by up to 30% after two in-game hours, and the combo-buying behavior that triggers when you price complementary dishes within a specific 15% bandwidth of each other.
-
Per-visit payment model — customers pay once per visit, not per dish, so your goal is maximizing the value of each seated guest.
-
Meal-set composition — how you arrange dishes and garnishes changes what guests are willing to pay.
-
Character-specific patience — each of the 400+ characters has personal tastes, and some tolerate higher prices better than others.
The key insight from community testing is that price elasticity varies by guest type. A hungry Luffy might pay almost anything for a meat-heavy set, while a pickier character will walk out if you push prices past their personal threshold. Learning these curves is the difference between a full dining room and a ghost town.
How the Game Calculates Your Maximum Price
Before you can optimize, you need to understand the formula the game uses to determine whether a guest accepts your price. Based on launch-window data and player reports, the acceptance check involves three main factors that stack together: the guest's budget tier (which scales with their character level and the island's progression rank), your dish's quality score relative to the base ingredient cost, and your current reputation multiplier earned from consecutive successful sales. For example, a Level 15 guest on Baratie with a 4-star quality dish will tolerate roughly a 25% markup over the base price, but pushing past that threshold triggers a visible "Too Expensive!" reaction that instantly kills the sale and resets your streak bonus. Understanding this interaction lets you price aggressively on high-demand items while staying conservative on low-tier ingredients, directly impacting your per-shift revenue ceiling.
Base Dish Value
Every recipe has a hidden base value that the game uses as a reference point. This isn't the price you set — it's the value the game assigns to the dish based on ingredients, complexity, and rarity. Think of it as the "suggested retail price" that the game uses internally to judge whether your asking price is fair.
Meal-Set Bonus Multiplier
When you arrange dishes into a complete meal set with garnishes and flourishes, the game applies a multiplier to the total base value. This is where the real pricing power comes from. A well-composed set can justify a much higher price than the sum of its individual dishes, because the game treats the complete experience as more valuable.
Character Patience Threshold
Each character has an invisible patience threshold that determines how far above base value they'll accept before refusing to pay. This threshold varies by character personality, hunger state, and relationship level with your restaurant. Community data suggests that characters you've served many times become more tolerant of price increases over time.
| Pricing Factor | Impact on Max Price | How to Improve It |
|---|---|---|
| Base dish value | Sets the floor | Use higher-tier ingredients and rarer recipes |
| Meal-set multiplier | 1.2x to 1.8x boost | Complete sets with matching garnishes |
| Character patience | 10-40% above base | Build reputation through repeat visits |
| Restaurant rank | 5-15% global boost | Expand seating and staff capacity |
| Event traffic spikes | Temporary +20-30% | Time price bumps around character events |
The practical takeaway from this table is that pricing power comes from preparation, not desperation. You can't just crank prices and hope — you need to build up your base values, compose better sets, and cultivate regular customers who trust your cooking.
Finding the Sweet Spot: The Patience Curve
The most valuable concept in this pricing guide is what experienced players call the patience curve. It's the relationship between your asking price and the percentage of guests who accept it. Understanding this curve lets you find the exact price point that maximizes total revenue per shift.
The Shape of the Curve
Early testing suggests the curve isn't linear. At modest markups (10-15% above base value), almost all guests accept, and you get a clean revenue boost. Push to 25-30% above base, and you start seeing refusals, but the guests who do accept pay significantly more. Beyond 40% above base, acceptance rates crater, and you're better off dropping back down.
Finding Your Optimal Point
The optimal price isn't the highest price — it's the price where accepted guests × price per guest peaks. For most restaurants, this lands somewhere in the 20-30% markup range, but the exact number depends on your reputation level, the quality of your sets, and which characters are visiting that day.
| Markup Level | Acceptance Rate | Revenue per 10 Guests | Verdict |
|---|---|---|---|
| 0-10% | 95-100% | 100-110 Berries | Safe but leaving money on the table |
| 15-20% | 85-95% | 115-130 Berries | Solid baseline for most restaurants |
| 25-30% | 60-75% | 130-150 Berries | Sweet spot for established spots |
| 35-40% | 30-45% | 105-135 Berries | Risky, only during event spikes |
| 45%+ | Under 20% | Below 100 Berries | Not worth the empty tables |
The key insight from this data is that revenue peaks in the middle range, not at the extremes. Players who chase maximum price per dish often end up with lower total revenue because they lose too many guests. The players who consistently out-earn everyone else are the ones who find their restaurant's specific sweet spot and hold it.
Daily Price Adjustments
One of the most effective strategies reported by veteran players is adjusting prices daily based on who's visiting. If a high-value character event is bringing in big spenders, bump your prices toward the upper end of the curve. On slow days with mostly casual guests, drop back to the safe range to keep tables full and reputation building.
Practical Pricing Tactics for Maximum Revenue
Now that you understand the theory, let's get into the concrete tactics you can apply to maximize profits in your restaurant. These strategies come from a combination of community testing and analysis of the game's economy mechanics, focusing on the key principle that base ingredient cost is the single biggest variable in your profit margin per dish. For example, while a high-tier dish like the Sora Cola Float may sell for a premium, if you're sourcing its ingredients at peak market prices from the Loguetown vendor, your net gain can drop by nearly 40% compared to buying the same stock during a price dip. The tactics below are ranked by their immediate impact on your daily revenue, so you can prioritize the quickest wins first.
Tier Your Menu
Don't price all dishes the same. Create a three-tier pricing structure that gives guests options while steering them toward your most profitable sets: anchor a high-margin signature set (e.g., the Straw Hat Grand Banquet at 1,500 Belly) at the top to make your mid-tier combo (like the Meat-on-the-Bone Platter at 800 Belly) look like a bargain, while a cheap entry-level snack (300 Belly) captures budget diners. This price anchoring exploits the decelerating demand curve — for every 10% you drop a dish's price, you only gain ~5% more orders — so the real profit driver is nudging guests toward the 60–70% margin tier, not discounting volume.
-
Value tier — basic single dishes priced at 5-10% markup. These keep budget-conscious guests happy and tables full.
-
Standard tier — complete meal sets at 15-20% markup. This is your workhorse tier that most guests will choose.
-
Premium tier — signature dishes with rare ingredients and full garnishes at 25-35% markup. These are for high-value characters and event days.
Time Your Price Bumps
The game's character events act as traffic spikes, according to the official press release from Bandai Namco Europe. When a popular character event is active, demand surges, and guests become more tolerant of higher prices. This is the perfect window to push your premium tier prices toward the upper limit.
Track Your Refusal Rate
The game doesn't explicitly show you your refusal rate, but you can infer it by watching how many guests leave without ordering. If you're seeing more than 20-25% of guests walk out, your prices are too high for your current reputation level. Dial them back and focus on building trust before raising prices again.
Invest in Expansion First
Before you aggressively raise prices, make sure your restaurant can handle the volume. Expansion adds seating and staff, which means more guests per shift and more chances to earn. According to community reports, players who invest in expansion early see better returns from price increases because they have the capacity to serve more customers at the higher price point.
For a deeper look at turning these pricing gains into overall wealth, check out the money-making strategies guide which covers the full range of income streams beyond just menu pricing.
Advanced Pricing Scenarios and Event Windows
Once you've mastered the basics, you can start experimenting with more advanced pricing scenarios that separate good players from great ones. These strategies require more attention but deliver outsized returns—particularly when you learn to exploit event windows like the limited-time "Grand Line Festival," where ingredient prices spike by up to 40% and customer traffic doubles. For instance, during the "Sabaody Archipelago Rush," savvy chefs stockpile cheap Wano Kuni wheat and Sea King meat beforehand, then shift their entire menu to high-margin dishes like the "Thousand Sunny Special" to maximize profits per shift. This cause-and-effect chain—anticipating demand, adjusting your recipe list, and timing your price hikes to the first two hours of the event—can boost your daily revenue by 25% or more, a margin that dwarfs the standard 10% gains from static pricing.
Event-Day Pricing
During character events, the traffic spike changes the entire pricing calculus. The same guests who would refuse a 30% markup on a normal day will happily pay it during an event because they're specifically seeking out your restaurant. Community data suggests bumping prices by an extra 10-15% during events, then dropping back immediately after.
Reputation Milestone Bumps
Your reputation rank isn't just a number — it's a pricing license. Every time you rank up, your guests' patience thresholds increase, giving you room to raise prices. The smart play is to raise prices in small increments right after each rank-up rather than all at once. This smooths out the adjustment and avoids shocking your regular customers.
The Loyalty Discount Strategy
Counter-intuitively, some top players use targeted discounts to boost long-term revenue. By offering a small discount to loyal customers (characters you've served many times), you keep them coming back regularly. The increased visit frequency more than compensates for the lower per-visit price, and these loyal customers become your most reliable revenue source.
| Scenario | Recommended Markup | Expected Revenue Impact |
|---|---|---|
| Normal day, low reputation | 10-15% | Steady, predictable income |
| Normal day, high reputation | 20-25% | Strong income with minimal refusals |
| Character event day | 30-40% | Maximum short-term profit |
| Post-rank-up window | 25-30% | Capture new pricing headroom |
| Slow weekday | 5-10% | Keep tables full, build reputation |
The advanced takeaway is that pricing is a dynamic system, not a static number. The best players treat their menu prices as a living strategy that shifts with their reputation, the guest roster, and the event calendar. They're constantly testing small adjustments and watching how guests respond.
Common Pricing Mistakes and How to Avoid Them
Even experienced players fall into pricing traps that quietly drain revenue, often without realizing it until they review their daily earnings report. The most common culprit is anchoring dishes to ingredient cost alone—say, pricing a 6-ingredient Sora's Cola Float at 1.5x its 320-berry ingredient cost—while ignoring the 15% service-speed bonus from a maxed-out Sanji workstation, which lets you sell 20% more plates per shift. Another frequent leak is failing to re-price after unlocking a new recipe tier, leaving premium dishes like the 1,200-berry Whole Cake Chateau priced at the same margin as early-game Rice Balls, effectively halving your profit-per-minute during peak dinner rush. Community-reported fixes include auditing prices every 3 in-game days against your ingredient cost table and using the "profit per cooking slot" metric rather than raw margin, which prevents low-volume, high-cost dishes from clogging your menu and tanking your hourly revenue.
The Fear of Empty Tables
The most common mistake is underpricing out of fear. New players see a few refusals and immediately drop prices to the floor, leaving massive revenue on the table. The fix is to track your actual refusal rate rather than guessing. A 15-20% refusal rate at 25% markup often nets more revenue than a 5% refusal rate at 10% markup.
The Greed Trap
The opposite mistake is overpricing during normal days. Some players get excited after a successful event day and keep the high prices when the event ends. The result is a dining room full of empty tables and a reputation that starts to slide. Always reset prices to your baseline after events conclude.
Ignoring Individual Character Tastes
Every character has personal tastes, and these affect their patience thresholds. A character who loves seafood will tolerate higher prices on seafood sets, while the same character might refuse a meat-heavy set even at a modest markup. Match your premium pricing to the characters who actually value those dishes.
For a complete breakdown of which dishes and meal sets perform best, the special dishes guide covers the recipe side of this equation in detail. That companion resource ranks each dish by its profit-per-serving margin, factoring in ingredient costs and prep time, so you can see exactly why a high-priced S-tier meal like the Sea King Barbecue outperforms a cheaper filler option once the kitchen queue is factored in. Pair it with the pricing tables here to lock in the optimal menu mix before you set your stall prices.
Frequently Asked Questions
What is the best price markup for a new restaurant?
New restaurants should start with a 10-15% markup while they build reputation and loyal customers. This keeps refusal rates low and tables full, which accelerates your rank progression. As your reputation grows and guests become more tolerant, gradually increase toward the 20-25% range.
How do I know if my prices are too high?
Watch for guests who enter but leave without ordering. If more than 20-25% of your visitors are walking out, your prices exceed your current reputation's patience threshold. Drop prices by 5% and monitor the refusal rate for a few shifts before adjusting further.
Should I price every dish the same?
No, tiered pricing works best. Keep basic dishes cheap to attract budget-conscious guests, price standard meal sets at your baseline markup, and reserve premium pricing for signature dishes with rare ingredients. This gives guests choices while maximizing revenue from high-value customers.
Do character events really justify higher prices?
Yes, character events create traffic spikes that make guests more tolerant of price increases. Community data suggests bumping prices by an extra 10-15% during events can boost revenue significantly. Just remember to reset prices after the event ends to avoid empty tables on normal days.
How does restaurant expansion affect pricing?
Expansion adds seating and staff, which increases your capacity to serve guests at higher price points. Players who expand early see better returns from price increases because they can serve more customers per shift. Invest in expansion before aggressively raising prices to maximize your revenue potential.