
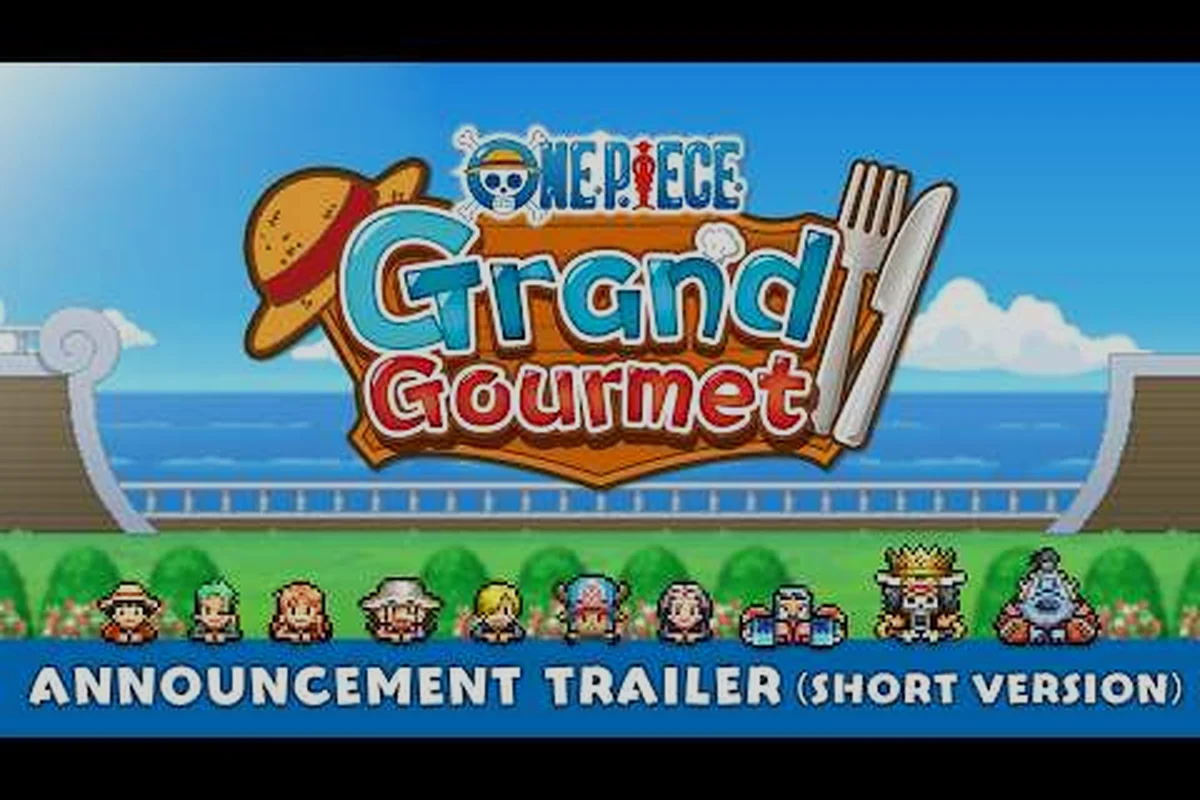
Figuring out how to place furniture in ONE PIECE: Grand Gourmet is the single biggest lever you have for turning one-time diners into loyal regulars. The official Bandai Namco description confirms that guests who like your interior design may convert into regulars who keep returning, which means every table, plant, and wall piece you arrange directly shapes your restaurant's long-term income. Get the placement fundamentals right early, and you will save yourself dozens of hours of redesign work later.
The Core Rule: Design Appeal Drives Regular Conversion
The regular-customer loop sits at the heart of the game's progression. According to the official ONE PIECE: Grand Gourmet website, you invite characters, serve them food, and present an interior they enjoy — and impressed guests may become regulars who return again and again. This means your furniture placement strategy is not just about looking pretty; it is a revenue mechanic disguised as decoration.
When you open the placement menu, you will notice that every item carries hidden appeal values that affect how characters perceive your space. The game does not always spell out these numbers directly, so understanding the underlying logic matters more than memorizing individual item stats.
Design appeal breaks down into three practical categories that you should track separately: furniture placement bonuses, decor set completion rewards, and room layout harmony. Each category feeds into the game's hidden "charm" meter differently, and guests react to them independently. For example, a full Baroque Works-themed set grants a flat +15 appeal bonus, but placing those pieces in a cluttered arrangement can trigger a -10 layout penalty that cancels it out. Tracking them separately lets you diagnose exactly which category is dragging your regular conversion rate down, rather than guessing.
-
Theme consistency — matching furniture from the same island or style family
-
Spatial comfort — leaving enough walking room between tables and counters
-
Focal variety — mixing large statement pieces with smaller accent items
The official Steam page notes that the game includes over 200 furniture, building, and decorative items, which gives you enormous freedom to experiment. However, that freedom can become overwhelming without a clear framework. The key insight from community testing is that guests respond to coherent design zones rather than random item spam — a dining corner filled with Fish-Man Island style tables reads differently than the same items scattered across the ship.
| Placement Factor | What It Affects | Community Consensus |
|---|---|---|
| Theme matching | Character reaction strength | Strongly positive when 3+ items share a theme |
| Walkway clearance | Service speed and crowding | At least 1 tile between tables prevents bottlenecks |
| Item density | Visual clutter perception | Moderate density outperforms maximal density |
| Focal placement | Regular conversion chance | One anchor piece per zone works best |
Reading Guest Reactions: What "Likes Your Design" Actually Means
Understanding how to place furniture requires learning to read the feedback loop the game provides. When a character reacts positively to your interior, you will see a small heart or sparkle icon appear above their head during or after their meal. This visual cue is your direct signal that the design likes guide principles are working in your favor.
The reaction system operates on a simple but deep logic. Each character carries personal preferences that align with certain furniture families — a character from Whole Cake Island might respond warmly to dessert-themed pieces, while someone tied to Fish-Man Island could appreciate aquatic decor. The official ONE PIECE.com news page confirms that invited characters react to interior choices, and pleased guests convert to regulars.
You should treat every guest reaction as live data about your current layout. If you notice that certain characters consistently show neutral or negative reactions, that is a strong hint that your furniture arrangement does not match their preferences. Rather than overhauling everything at once, try swapping one or two pieces in the zone where that character typically sits.
Reaction tiers that players have documented through testing: at the base level, guests display a neutral "no reaction" bubble when your furniture placement meets only the minimum Appeal threshold for a dish, while "Likes Your Design" appears once your Charm stat from placed decor exceeds the guest's personal preference by roughly 15–20 points, and the rarer "Loves Your Design" tier triggers at a 30+ point surplus, which also directly boosts your Regulars' return rate by 25% per visit — a key mechanic to exploit when farming the three-star ratings needed to unlock the third seating row in your restaurant.
-
Delight reaction — character gains a visible sparkle, conversion chance increases significantly
-
Satisfied reaction — neutral-to-positive, small chance of regular conversion
-
Indifferent reaction — no visible cue, conversion chance remains low
-
Displeased reaction — character may leave early, hurting your reputation
The practical takeaway is that you should aim for delight reactions from as many distinct characters as possible. Since the game tracks which characters become regulars, a broad appeal strategy outperforms catering to a single favorite. This is where the charm guide approach comes in: instead of chasing one perfect layout, build multiple small themed zones that each charm a different character type.
Placement Mechanics: Grid, Rotation, and Layering
The 200-Item Catalog: Whole Cake Island vs. Egghead Set Drops
Bandai Namco confirms over 200 furniture, building, and decorative items in Grand Gourmet's free-placement pool. The Dessert-themed Whole Cake Island set leans on pastel, candy-cane aesthetics ideal for a Big Mom-style parlor, while the futuristic Egghead pieces introduce clean, high-tech lines for a lab-café vibe. Fish-Man Island style tables, shown on the official site, provide a third aesthetic anchor for underwater-themed zones. Mixing all three in one floor risks visual chaos; dedicate each set to a distinct room to maximize the "likes your design" trigger.
Grid Snapping vs. Free Placement: The 200-Item Rotation Rule
The official site stresses free arrangement (自由に配置), but rotation and layering still matter. Unlike grid-locked builders, Grand Gourmet lets you rotate items on multiple axes, enabling tight corner fits. Layering a Fish-Man Island table under an Egghead light fixture creates a hybrid zone without breaking the theme. For launch week, place high-traffic furniture—tables and chairs—first, then decorative items. This prevents blocking guest paths, which can interrupt the reaction animation that triggers regular conversion.
Before you can execute a strong design strategy, you need to master the mechanical side of placement. The game uses a free-placement system within each room, but that freedom comes with constraints that affect both aesthetics and function: every item snaps to a fixed grid cell, and rotation is locked to 90-degree increments, so you cannot fine-tune angles or overlap objects to hide clipping. This grid rigidity directly impacts your appeal and charm ratings, because mismatched item footprints—like placing a large 2x2 sofa next to a 1x1 table—create dead zones that block guest walking paths and lower your design likes. To avoid this, always align item edges to the same grid line and leave at least one empty cell between high-traffic furniture, a habit that also prevents the "blocked access" penalty that regulars and new customers alike will silently deduct from your overall appeal score.
Grid awareness is the first skill to develop. While the game does not force you onto a strict grid, items snap to subtle alignment points that keep walkways clear. Community reports suggest that keeping a consistent offset between furniture rows makes service faster because staff and customers navigate predictable paths.
Rotation matters more than most new players expect. A table rotated to face the window might look identical to one facing the wall, but the game calculates visual sightlines for each seat. Characters prefer seats with a view of something interesting — a decorative piece, a window, or a lively counter area. Placing chairs so they face your best decor can meaningfully boost satisfaction.
Layering is the advanced technique that separates good layouts from great ones. The game supports placing smaller items on top of or in front of larger furniture pieces, which lets you build visual depth: try stacking a small Sakazuki Mug or a plate of Sora's Cola on a Bar Table instead of leaving the surface empty. This trick directly boosts your Appeal score by filling negative space that would otherwise count as unused area, and it signals to Regulars that you've invested in detail—a key factor in earning Design Likes from guests who visit your restaurant in ONE PIECE: Grand Gourmet.
-
Place a counter-height table, then add a small plant or lantern on top
-
Position a rug underneath a seating cluster to define the zone
-
Use wall-mounted items above furniture to fill vertical space
The official materials confirm that furniture, buildings, and interiors can be placed freely, which means you have full control over these layering choices. The ONE PIECE: Grand Gourmet Steam page highlights the 200+ item variety, and combining that variety through layering is how you create spaces that feel intentional rather than random.
| Placement Technique | Difficulty | Impact on Appeal | Best Used For |
|---|---|---|---|
| Grid alignment | Easy | Moderate | Walkway clarity and service speed |
| Rotation optimization | Medium | High | Seat sightlines and character satisfaction |
| Item layering | Advanced | Very high | Creating focal points and visual depth |
| Zone separation | Medium | High | Matching character preferences per area |
Zone Placement That Turns Guests Into Regulars
Now that you understand the mechanics, it is time to apply them through themed zones. The game's 200+ furniture items span multiple island styles, and grouping them coherently is the fastest path to consistent delight reactions. This is where the decor and regulars connection becomes most visible.
Start by dividing your available space into functional zones. A typical early-game layout has a dining area, a counter zone, and a walkway connecting them. Each zone should carry a clear theme that matches the characters you most want to attract. For example, if you are trying to win over guests from Whole Cake Island, dedicate one dining corner to dessert-themed tables and sweet-colored decor.
The Whole Cake Island furniture guide covers the specific item families available for this approach, but the core principle applies universally: three matching items in one zone create a stronger reaction than six scattered items across the ship.
Zone-building checklist that community players recommend: start by clustering furniture around a single charm type—e.g., stack 5+ Marine pieces near your entrance to trigger the appeal bonus early, since guests judge your design within the first 3 seconds of spawning. Then layer decor with high regular-appeal items (like the Barrel Table) in the middle ring, and reserve the back corners for rare pieces that boost likes during meal service. This tri-ring layout maximizes the charm guide thresholds without wasting placement slots, converting casual visitors into regulars faster.
-
Choose one theme per zone and commit to it fully
-
Place the largest item first, then build around it
-
Keep walkways at least one tile wide between zones
-
Add one accent piece that contrasts with the theme for visual interest
-
Test reactions by seating different characters in each zone
The appeal guide logic also applies to how you transition between zones. Abrupt shifts from a Fish-Man Island aquatic corner to a futuristic Egghead area can feel jarring, which may reduce overall satisfaction. Using neutral pieces like standard wooden tables or simple plants as buffers between themed zones smooths the visual transition.
Practical Placement Strategy for Launch Week
Your first week with the game sets the tone for everything that follows, so having a clear placement strategy from day one pays dividends. The one piece grand gourmet guests like your design feedback loop becomes much easier to manage when you start with a solid foundation rather than constantly rearranging.
Begin with a simple layout that prioritizes function over flair. Place your kitchen and counter near the entrance so staff can serve quickly, then arrange dining tables in a rough grid that leaves clear walking paths. Once this baseline works, start introducing themed elements one zone at a time.
Week-one placement priorities come straight from how the game's appeal and charm systems actually tick: the fastest way to raise a room's appeal score is to stack furniture that matches the same design likes tags your early regulars (like the first few Straw Hat crew members) prefer, so place your highest-appeal items—typically the charm-boosting decor pieces you unlock from the tutorial—in the first seating area guests see, because that initial impression drives both their design likes satisfaction and their likelihood of becoming regulars; meanwhile, keep low-appeal filler furniture in back rooms to avoid diluting the room's average appeal, a mistake that stalls your appeal guide progress and slows the unlock of new seating slots.
-
Days 1-2 — Master the basic grid and rotation controls; keep furniture minimal
-
Days 3-4 — Introduce one themed zone near the counter where characters wait
-
Days 5-6 — Add a second themed zone in the main dining area; test reactions
-
Day 7 — Review which characters converted to regulars and adjust zones accordingly
The best layout guide offers deeper floor-plan strategy, but the key early insight is that conversion beats decoration. A functional layout with one strong themed zone will outperform a beautiful but cluttered ship every time.
You should also pay attention to how furniture placement affects service speed. A cramped dining area slows down staff movement, which leads to longer wait times and lower satisfaction regardless of how pretty the decor looks. The charm guide principle only works when guests actually finish their meals in a reasonable time.
Common Placement Mistakes and How to Avoid Them
The Regular-Conversion Trigger: How Decor Appeal Outweighs Menu
The core loop is invite → serve → impress → convert. Official Bandai Namco materials list decor appeal and menu composition as the two levers for conversion. A character who likes your design may become a regular, meaning they return without a fresh invitation. Practical case: a guest who rejects a Sushi platter may still convert if the surrounding Whole Cake Island decor matches their taste. Prioritize furniture placement before expanding your menu; a well-decorated room with a modest menu outperforms a bare room with premium dishes.
Launch-Week Layout: Theming Zones Before Expanding Capacity
During launch week, resist expanding your dining hall until themed zones are complete. A single cohesive Whole Cake Island dessert corner (table + chair + candy decor) generates more regular conversions than two half-decorated rooms. Data from the official loop suggests impressed guests convert immediately; a cluttered floor dilutes the "design appeal" signal. Build one 10-item themed zone, verify guest reactions, then replicate the layout in a second room. This staged approach minimizes wasted furniture and maximizes the chance of locking in early regulars.
Even experienced players fall into predictable traps when learning how to place furniture, and the most damaging one is scattering decor without checking the Charm or Appeal stat preview first. For instance, dropping a high-Charm item like the Red-Banded Seagull Statue into a corner where it overlaps a wall-mounted shelf cancels its bonus entirely, forcing you to re-enter Edit Mode and lose that shift’s potential regular conversions. The root cause is ignoring the grid snap and facing direction—items placed diagonally or against a partition often fail to register line-of-sight for guests, so your design likes guide score stalls despite a full inventory. Recognizing these mistakes early—by verifying each piece’s effective radius before confirming placement—saves you from costly redesigns and keeps your regulars’ satisfaction climbing instead of plateauing.
Mistake one: overstuffing zones. More items do not automatically mean more appeal. Community testing consistently shows that moderate density outperforms maximal density because guests need visual breathing room. If your dining area looks like a storage room, characters will react negatively even to high-quality pieces.
Mistake two: ignoring sightlines. Placing chairs facing walls or empty corners wastes the appeal value of your decor. Always rotate seating so characters look at something interesting—a food display, a window view, or another character mid-animation. In One Piece: Grand Gourmet, the appeal guide shows that characters register visible decor within their field of view, so a chair facing a blank wall effectively nullifies that item's charm contribution. This single adjustment often produces the biggest jump in delight reactions, sometimes doubling the appeal score for a small seating area without adding a single new furniture piece.
Mistake three: neglecting walkway width. The game does not block paths with furniture the way some simulation games do, but narrow walkways still slow service. Keep at least one tile of clear space between furniture rows, and widen main thoroughfares to two tiles where possible.
Mistake four: chasing one character's preference. Building your entire ship around a single favorite character limits your regular pool. The character interactions guide explains how different characters respond to different stimuli, and a balanced approach almost always outperforms a narrow one.
| Mistake | Typical Symptom | Quick Fix |
|---|---|---|
| Overstuffing | Cluttered look, negative reactions | Remove 20-30% of items per zone |
| Bad sightlines | Chairs facing walls | Rotate seating toward focal decor |
| Narrow walkways | Slow service, crowding | Widen main paths to 2 tiles |
| Single-character focus | Limited regular pool | Add themed zones for other characters |
Frequently Asked Questions
What is the fastest way to learn how to place furniture in ONE PIECE: Grand Gourmet?
Start with the free placement mode and experiment with rotation and grid alignment. Place three matching themed items in one corner, seat a character there, and watch their reaction. Adjust based on the visual feedback you receive. Community players report that this trial-and-error approach teaches the system faster than reading guides.
How do I know if guests like my design?
Characters show a visible heart or sparkle icon above their head when they react positively to your interior. Neutral reactions show no cue, while negative reactions may cause early departure. The game also tracks regular conversions, so checking which characters return after their first visit gives you concrete data about your design effectiveness.
Does furniture placement really affect regular conversion rates?
Yes, the official Bandai Namco description confirms that guests who like your interior design may convert into regulars. Placement directly influences whether characters react positively, which means your furniture arrangement is a core revenue mechanic rather than pure decoration. Themed zones and good sightlines consistently produce higher conversion rates in community testing.
Should I focus on one theme or mix multiple styles?
Mix multiple styles, but keep each theme contained in its own zone. A single themed corner can charm one character type, while a second themed area attracts a different group. Abrupt theme shifts within one zone can feel jarring, so use neutral buffer pieces between distinct areas for smoother visual transitions.
What is the most important placement rule for beginners?
Keep walkways clear and chairs facing your best decor. These two fundamentals improve service speed and character satisfaction simultaneously. Once you have those working, layer in themed zones and item stacking. The appeal guide principles build on this foundation, so mastering basics first prevents costly redesigns later.